
5 Essential Illustration Tools
9 CommentsThis is an article I originally posted way back in October of 2012, but it has consistently been one of the most popular articles on the Design Range, and is probably the most viewed thing I’ve ever written. The plan was to take a look through it and make some updates, but the fact is, what was true then is still true now and these tools are still my absolute go to bits of gear for illustration. One thing I will say though is that the Staedtler Mars Leadholder has really proved it’s worth over the last few years, and so if there’s just one bit of kit I’d say you needed to buy from all of this, it’d definitely be that little beauty.
Whilst it may well be true that a bad workman always blames his tools, it definitely helps to have the right tools to begin with. As an illustrator you can have all the talent in the world, but unless you have a good understanding and knowledge of the equipment your using you’re really underselling yourself. Now I’m not saying that some of the worlds greatest artists couldn’t create a masterpiece with a stick of charcoal. I’m sure they could. But you have to remember that you’re a professional. You’re not creating art for arts sake, you’re creating it for a client with a very particular purpose in mind, and 99% of them would like that work to be delivered in the most professional manner available. So here I’ve listed the five essential tools you’ll need to forge a career in illustration, I’ve also spoken a little about the products that I personally use, but keep it in mind that every illustrator is an individual and whilst all of these items will make fantastic starting points, you shouldn’t feel chained to them if you’re developing in a particular direction.
1. The Right Pencil
Pretty obvious right? Pencils are brilliant, I love pencils, you can draw all day long and then rub out the mistakes like they never happened. Pencils make me look like a genius. Getting the right pencil however is something that takes a lot of trial and error. I’ve met a lot of other illustrators during my careers and read up on many more still, and they all seem to have ‘their’ pencil that just works for them. I can’t remember who it is now, but a while ago I was reading about an illustrator who learned that his favourite brand of pencil was due to be discontinued so he literally bought thousands upon thousands of these pencils, just to make sure he always had one!
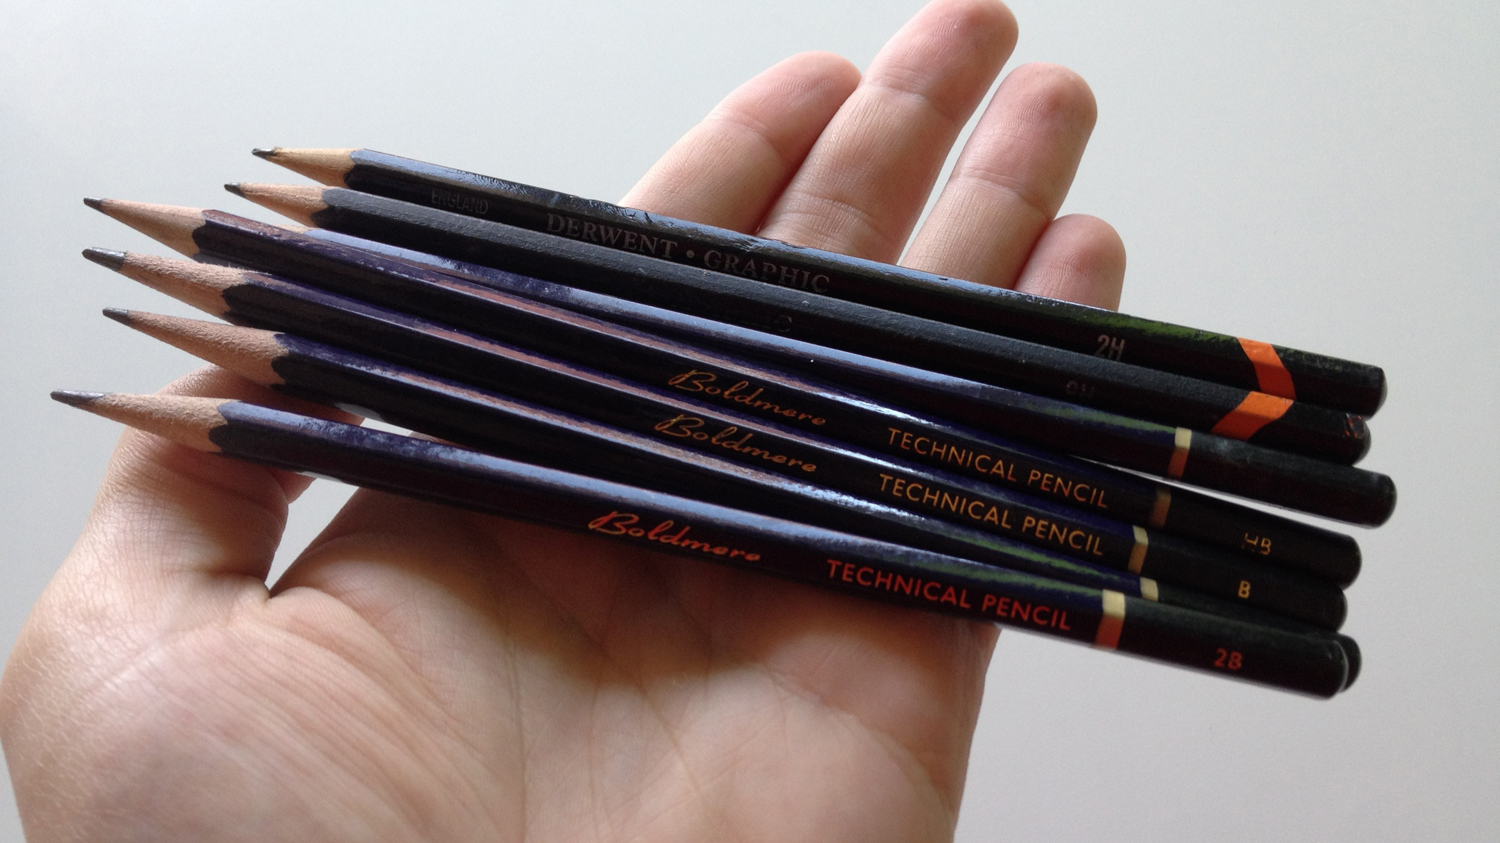
I’ll admit that when I first got started, I just thought a pencil was a pencil was a pencil (I think I may have even been using a few that had been rolling around in my pencil case since school!). However, I quickly learned that pencils can be as diverse as paints and that you really have to get the right lead for the job. I moved on to using a set of 24 pencils, some hard some soft, some thick, some thin, and I learnt a lot from using them. I produced some really great works, but I soon found that a lot of my clients wanted polished digital illustrations, and so creating a masterpiece in lead turned out to be a bit of a waste of time.
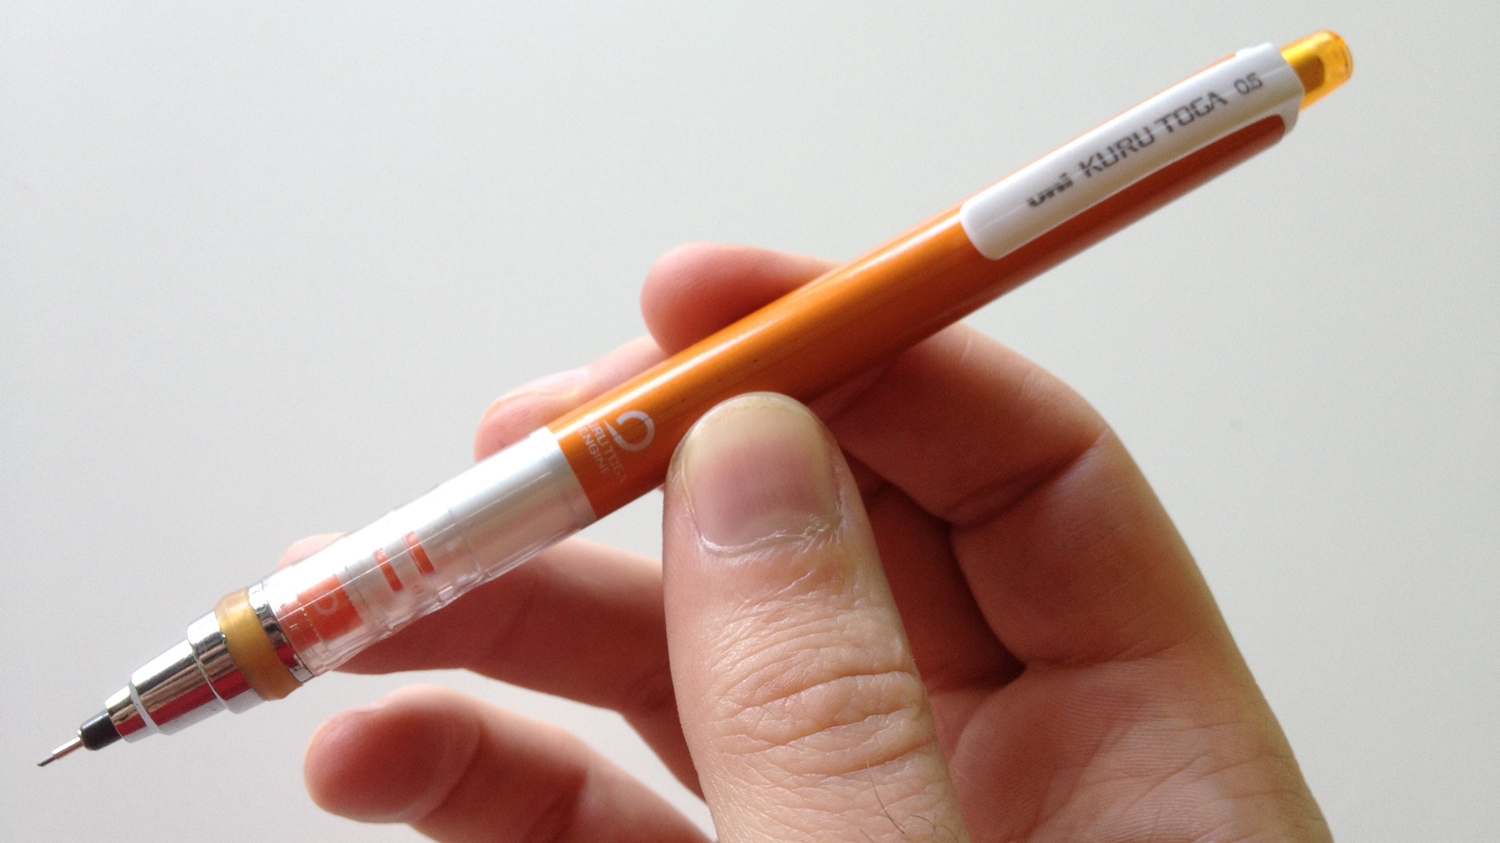
From there I started using the Uni Ball Kuru Toga mechanical pencil, which sold me on the way it rotated the lead as you used it in order to always keep it sharp. As my pencils were now just outlines for my digital work it didn’t matter that I was only using one type of lead and so opted for good old HB.
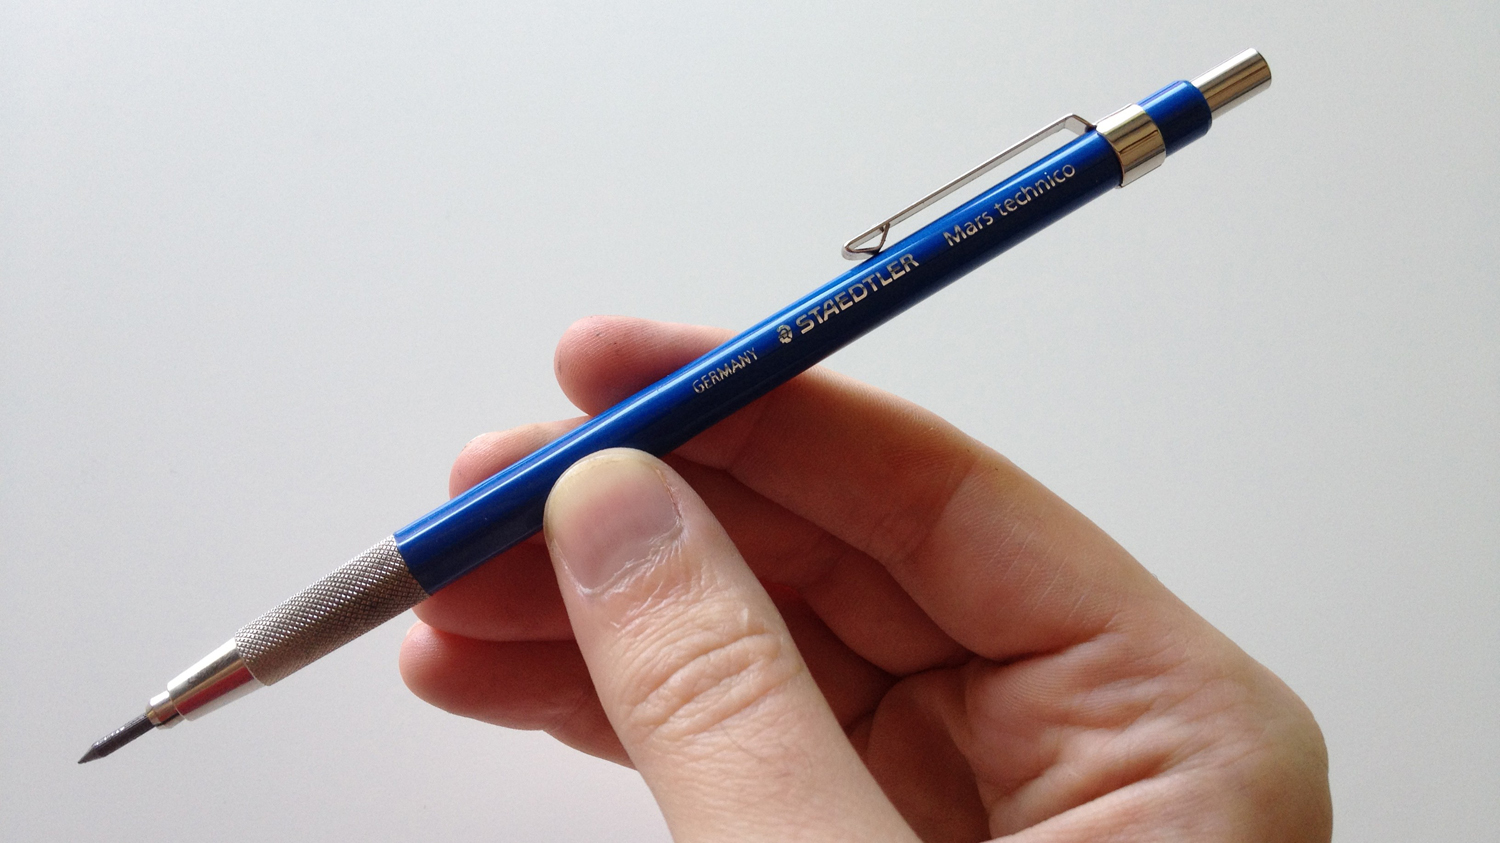
Recently I’ve switched away from the Kuru Toga, to the Staedtler Mars Leadholder as it’s been recommended to me by a lot of artists that I admire, and I’m really loving it. The lead is more expensive, but it’s a lot thicker, and somehow feels a lot more natural and fluid (plus you don’t have to worry about it snapping if you press too hard). The downside is that you need to manually sharpen it every time the point get’s dull. The leadholder actually has a sharpener built into it, but with nowhere to put the excess lead, things get very messy, so I strongly recommend purchasing the Mars Pointer Tub as well as it’s just so so much easier.
2. The Right Pen
Just like having the right pencil comes down to personal choice so too does having the right pen to work with. Now any illustrator worth his salt will have a whole range of different pens at their disposal for every eventuality, but all of them will have one that they always use, that they couldn’t live without. I’ve heard it said many times before that the best inkers in the world uses brushes as you can vary the line weight. But, with that said, I’ve also been told by Mark Chiarello (Art Director at DC comics) that the one pen he always keeps on him is a Sharpie Fine Point Marker!
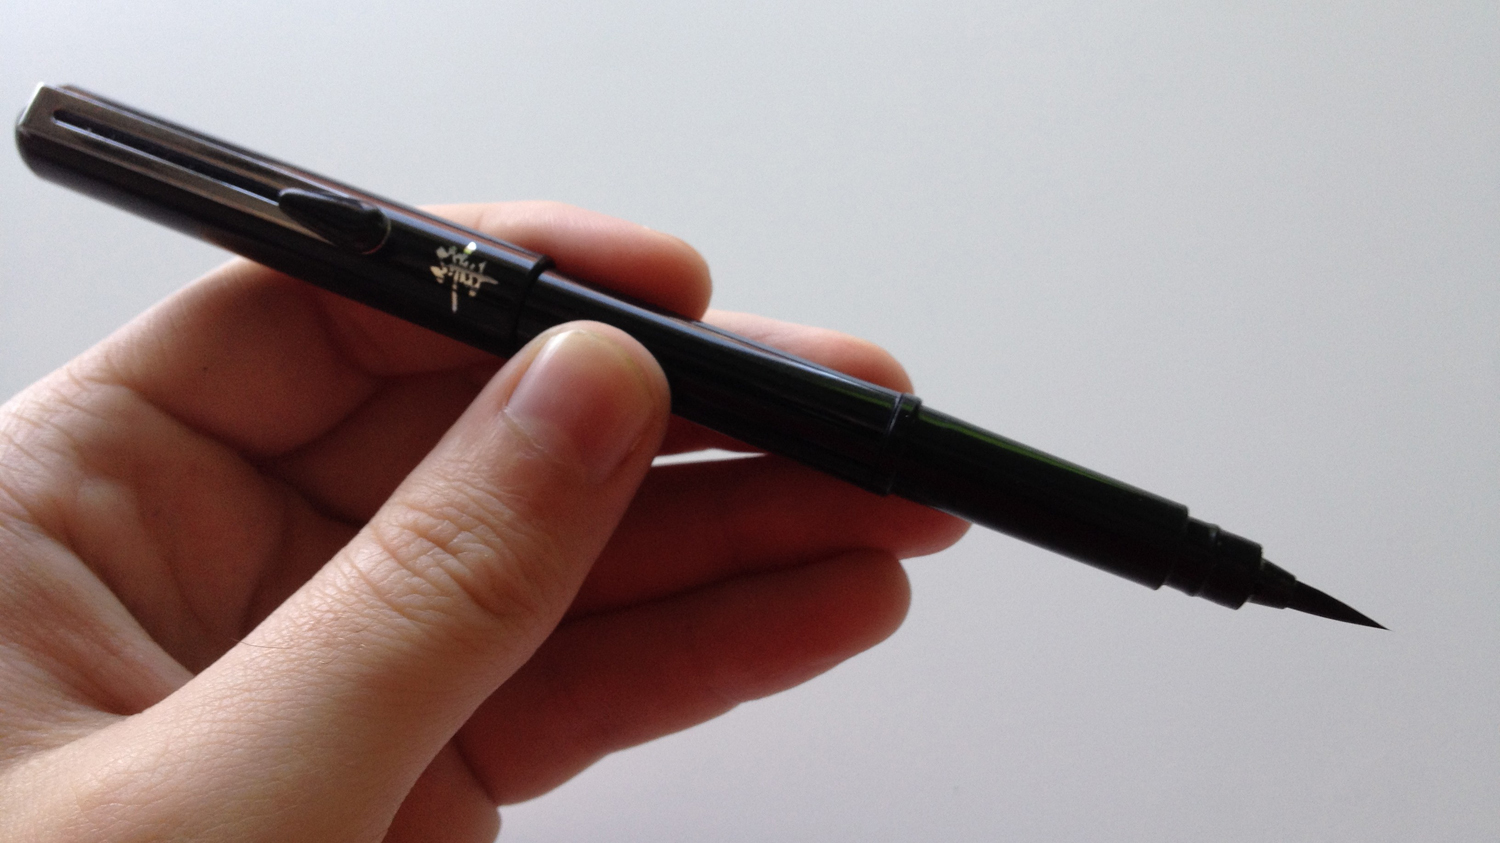
Personally for me (and I’ve said this before in a few of my illustration tutorials) the best pen I’ve been able to find out there is the Pentel Brush Pen as instead of having a nib it has a bristles like a brush, meaning that you can still get the difference in line weight, but without the messy ink pots. Obviously I use it in conjunction with a load of other pens (often for much thinner lines), but I find myself using this pen on almost all of my illustrations.
3. Drawing Table
Drawing Tables can be looked over by the aspiring illustrator so easily, but let me tell you, the sooner you get one, the better. I spent years illustrating on a flat desk and one thing I noticed in my illustrations again and again was that they were totally out of proportion, the head was huge and the legs were way too short. I couldn’t understand it, everything looked perfect when I was drawing it, but now I’m on the computer it looks all wrong… maybe the scanner is broken? In actual fact I’d been drawing at a weird perspective, and that was why my illustrations looked odd. Think about it, if you’re working on a flat surface then the top of the paper is further away from your eyes than the bottom, but you don’t draw to compensate to that, you just draw what looks right to your eyes, and so when you hold the paper level, everything is out of sync.
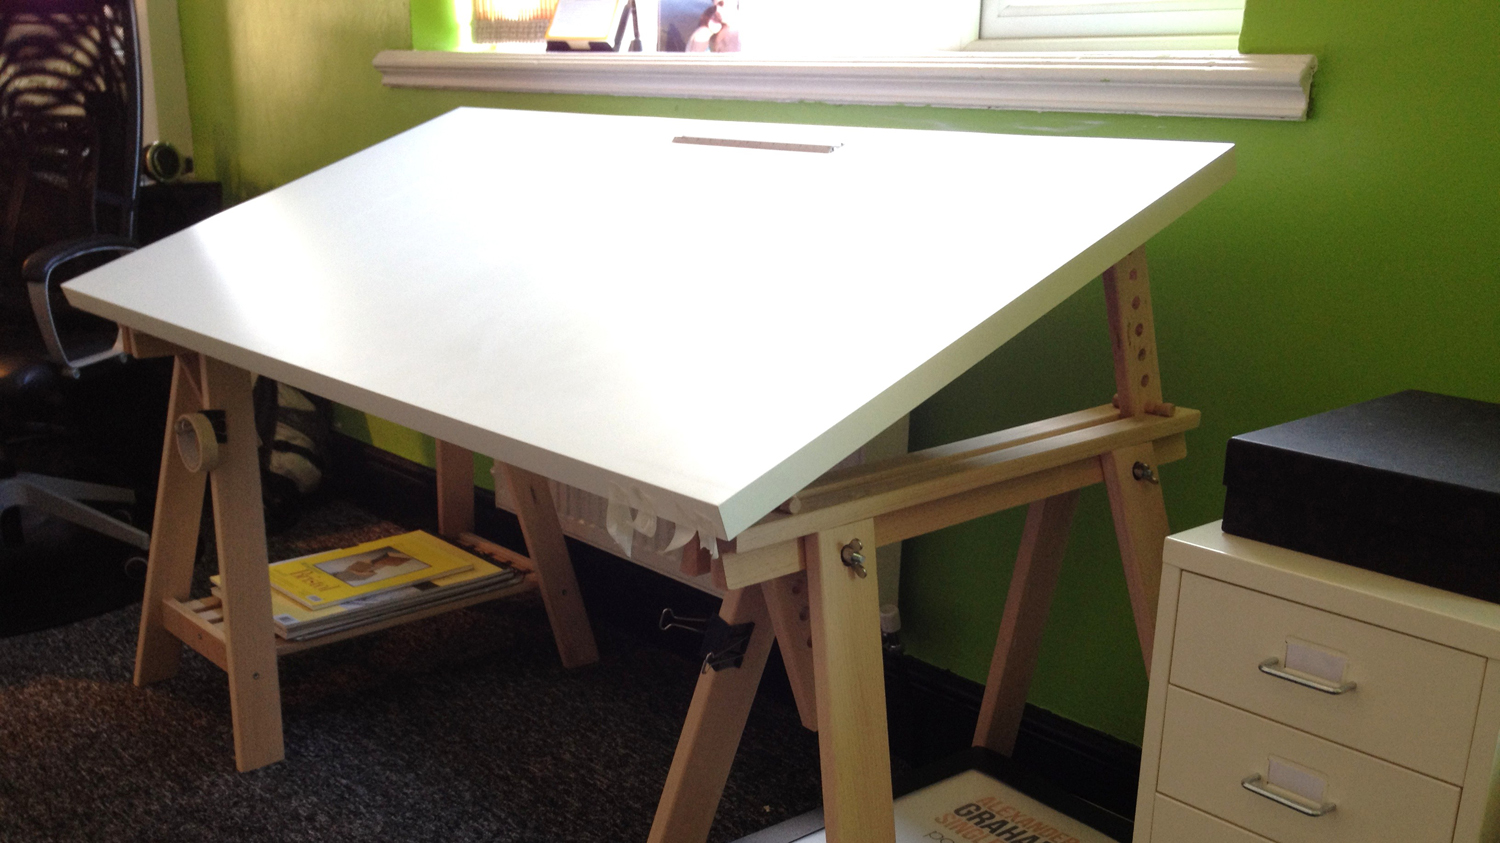
Drawing tables (although they can be) don’t have to be a huge expense, and you really don’t need an all singing all dancing architecture grade drafting table. At Hunting Town I just bought a couple of adjustable trestles and a desk top from Ikea and set the table to an angle I felt comfortable with, the whole thing cost under £100 and it works a charm. If space is more of an issue in your office then you can always opt for a desktop drawing board that can be tucked away when not needed and doesn’t cost a great deal (if you find your keyboard and mouse keep getting in the way, check out this article on how to set up a wireless workspace).
4. Scanner
As a professional illustrator, at some point or another you’re going to have to get your work onto a computer screen, I doubt very much that a client will hire you to produce a one off illustration that you can send through the post to them (and even if they did, that makes you an artist, not a designer). Thankfully scanners are pretty easy to come by now as most modern printers have a scan function as standard. Obviously some scanners are better than others and you need to make sure you pick one that scans at a resolution of at least 300 dpi.
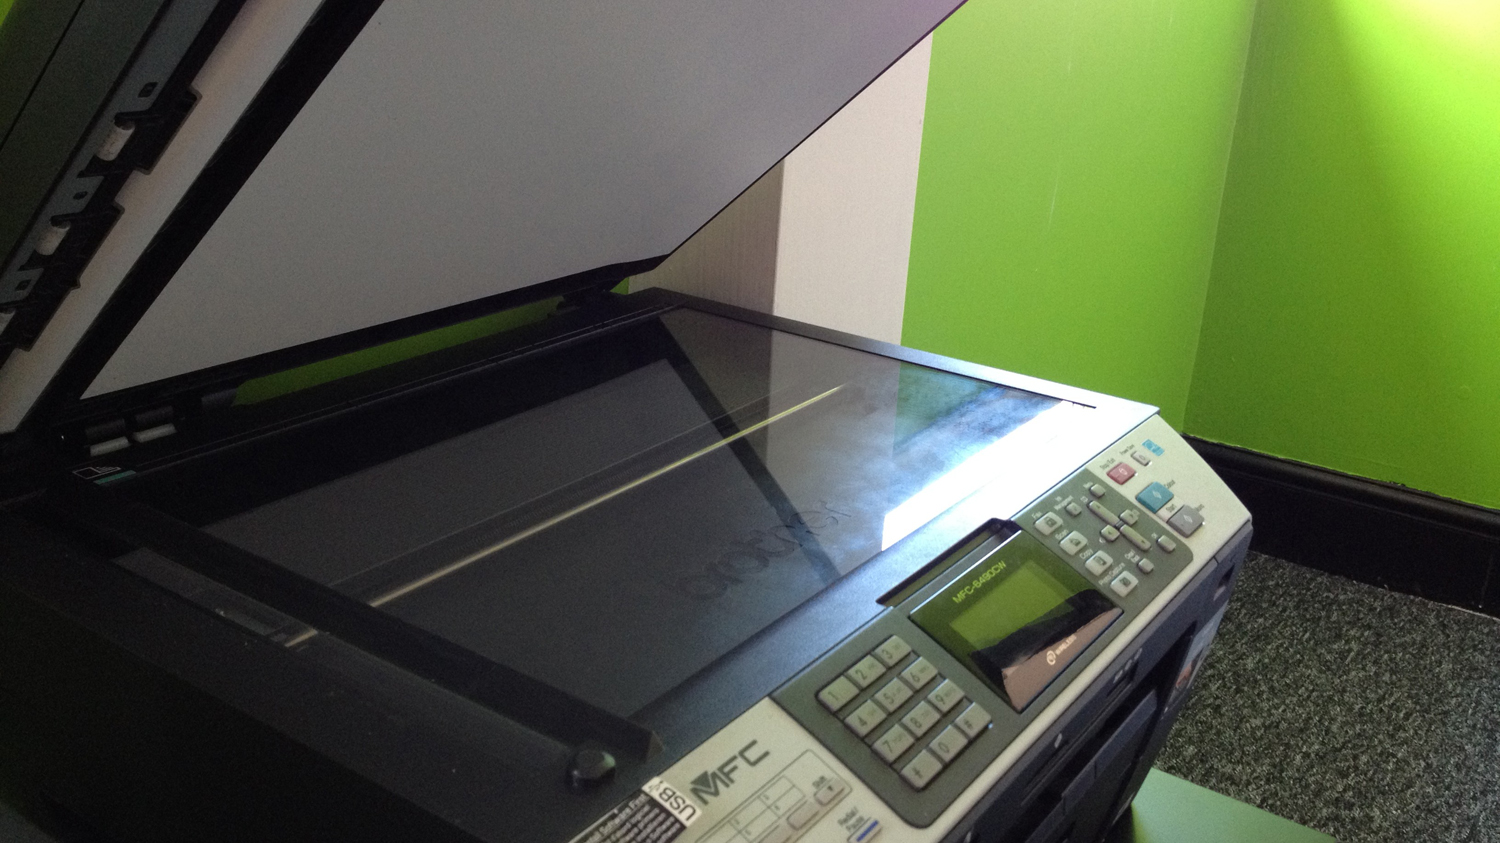
I use a Brother MFC-5890CN printer and scanner as it actually has an A3 flat-bed scanner built into it which can be difficult to come by and is really useful for illustrators working on large scale projects. In all honesty I don’t have a huge knowledge base when it comes to different brands of scanner, as before I had this one, I used it’s younger A4 counterpart. All I know is that these ones from Brother work very well indeed, and I’m very happy with the quality I get out of them.
5. Graphics Tablet
A professional illustrator is a diverse illustrator and in this day and age that means digital. Every day I see amazing artworks created purely on graphics tablets and watch videos of people paint masterpieces from scratch with nothing more than a digital pen. Amazing though this may be, the graphics tablet is not a tool reserved exclusively for the digital Da Vincis of our time, but rather an item that every designer should have in their arsenal. Originally I used a Trust a3 graphics tablet as it was the biggest one I could find for the money I had to spend and I never really took to it. The pen was bulky, uncomfortable and moving it over the tablet felt very uncomfortable. Needless to say it sat at the side of my desk gathering dust, until one day I totally forgot it was even there an put a red hot pan (don’t ask) down on it, instantly ruining it.
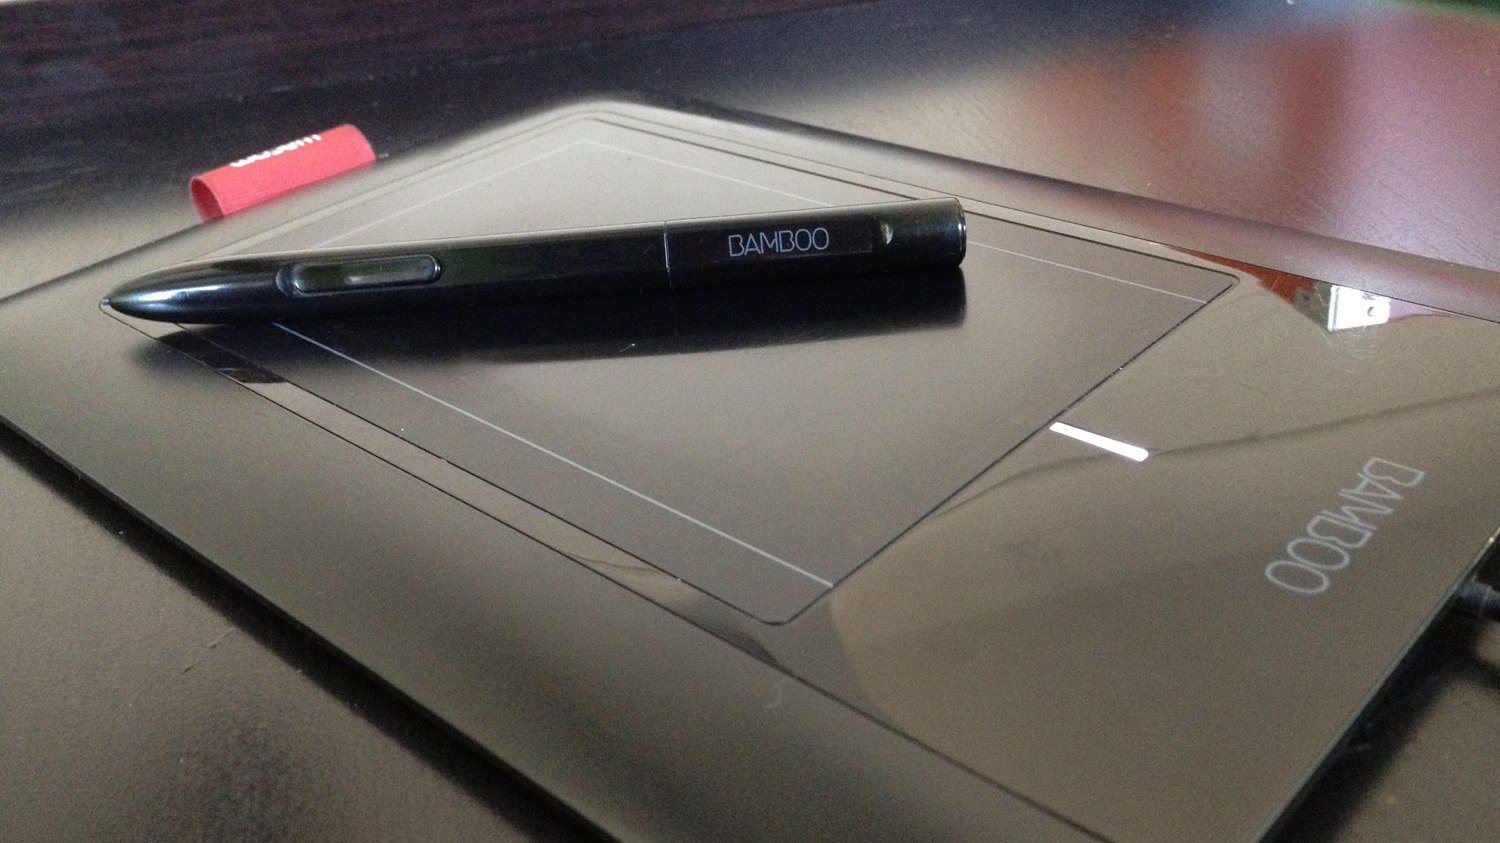
As a designer I felt compelled to replace it and instead opted for the much smaller Bamboo Pen from Wacom. The difference was immense and I have never looked back. Seriously if you’re even thinking about purchasing a graphic tablet, just make sure it’s a Wacom, because I’ve used a few brands now and let me tell you – they are worlds apart (Note – the Bamboo Pen I have in the picture is actually a pretty old model, the new ones that are available now are even nicer!). I don’t actually use my current Wacom for drawing any more as I like the feel of real pens, pencils and paper, but I do use it extensively for touching up my line work and for colouring my illustrations. At some point, your mouse just won’t be accurate enough to do what you want and it’s at these times that a graphics tablet is utterly essential.
So there you have it. Hopefully if you’re already a professional illustrator you have the bulk of these items already squared away, and if you’re just starting out make sure these feature highly on your shopping list! Once again though I want to point out that whilst the products I’ve recommended are what I use, and think very highly of, they may not be the absolute best choice for your particular style, so keep on searching and trying new products every chance you get.
If you want to know more about the equipment I use to design check out the resource page where I list all the awesome stuff I use to create illustrations day to day.
Just so you know, the product links I’ve included are totally affiliate links so I get a small commission (at no extra cost to you) if you decide to buy any of them. These are all products that I own and I’m recommending them because I find them genuinely useful.
Photo Credit to Nalini Prasanna