ColorZilla Ultimate CSS Gradient Generator Tutorial
3 CommentsGradients offer a way of jazzing up everything from website backgrounds, form buttons, DIVs and more. Whether it’s a real estate website, e-commerce site or even a personal blog, the CSS aspect of your theme greatly affects the user experience.
But not everyone has the time or desire to hand-code the CSS that is necessary to implement a cool gradient effect.
In this tutorial we’ll look to cover the main features of the ColorZilla Ultimate CSS Gradient Generator, a very useful component of the free ColorZilla browser add-on.
An Overview of ColorZilla
For anyone unfamiliar with it, ColorZilla extends the capabilities of your browser and makes it easy to execute a variety of color related tasks. With it, you get a suit of very useful tools that are accessed via a drop-down menu from the ColorZilla browser icon.
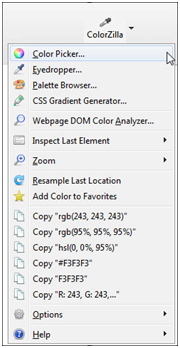
Features include an Eyedropper tool that grabs the color of any pixel in the browser window. A Zoom option allows zoomed-in views up to 1000% of the original page size. Other neat features include a Webpage DOM Color Analyzer, History and Favorites palettes, the ability to measure the distance between any two points in the browser window, and more.
About the CSS Gradient Generator
It would be easy to spend hours designing gradient backgrounds, let alone the time it takes to test and tweak them. The nice thing about the ColorZilla Ultimate CSS Gradient Generator is that it frees you from having to use a graphical gradient and all the limitations that come with it, such as those associated with height and width.
It comes with a very simple-to-understand interface that—as the name implies—generates the CSS code for you.
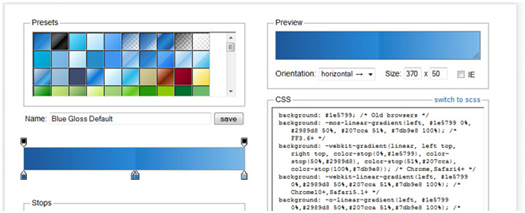
On the left is a good collection of presets ready to use right out of the box. To the right is a preview area which allows custom control of several parameters, including gradient angle (horizontal, vertical, angle and radial), as well as size. There is a checkbox for IE that outputs adapted to IE constraints.
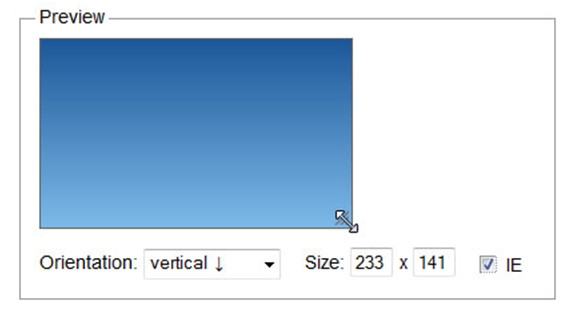
You can grab the edge of the gradient rectangle to see how the gradient looks in any other arbitrary dimension.
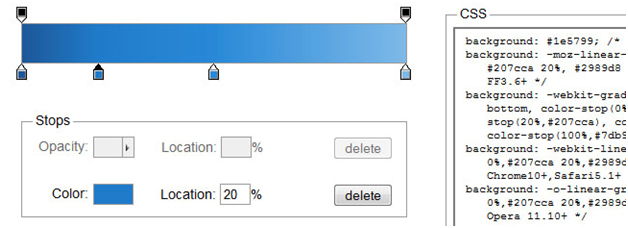
Moving back to the left side pane, there are controls to modify the certain gradient parameters. You can, for example, introduce as many nodes or “color stops” as needed. For each node, you can change its color, location and opacity.
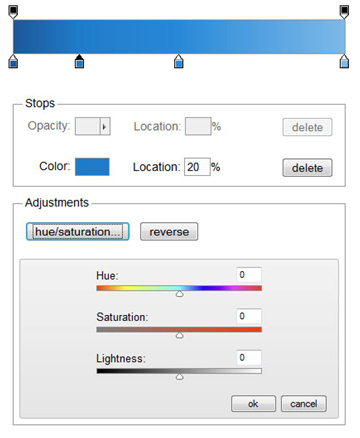
Clicking on a specific node reveals the color of the node. Clicking on the color field causes a pop-up pallet to display, which allows you to choose any color from other colors, and control other parameters, such as hue, saturation and brightness. Alternatively, these can be tweaked using the controls below stops panel, and the direction of the gradient can even be reversed
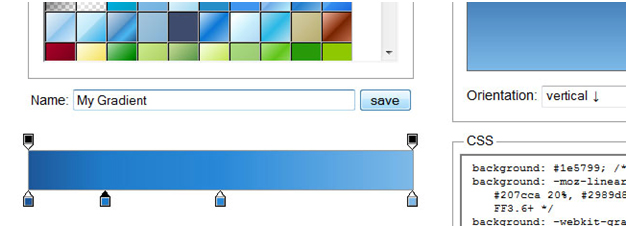
Once you have made all desired changes you can give your gradient a custom name and save it to your computer. This makes it easy to use your gradient again at a future point in time.
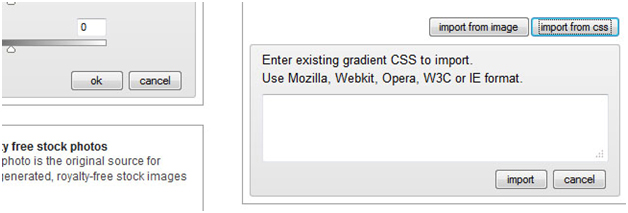
Another cool feature allows you to import a CSS file to use a color gradient you have previously created.
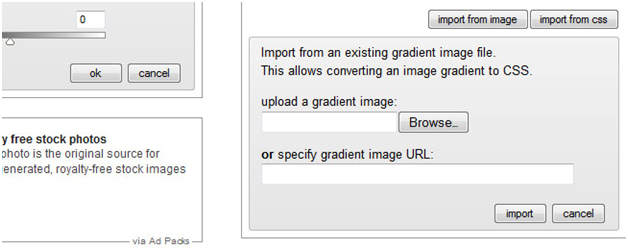
What’s more, you can import any gradient by simply uploading a gradient image or specifying a gradient URL.
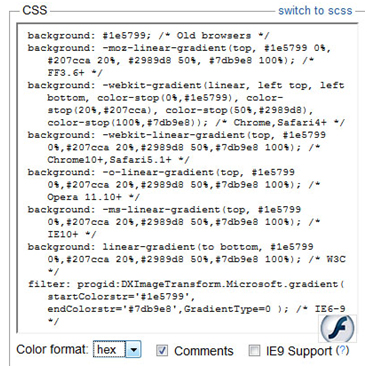
Finally, there is the all-important code that the CSS Gradient Generator generates. Simply copy the code into your stylesheet, and voila, instant gradient. Even if you never actually use the gradient you created, you’ll still learn a lot about how gradients work, and have some fun in the process.
Did you like this Article?
[one_half]If so, why don’t you consider subscribing to The Design Range Newsletter? You’ll be kept informed once a fortnight on all the latest articles as well as exclusive tips and tutorials on increasing your income from graphic design.[/one_half][one_half_last]
[/one_half_last]
